

This text was written with the help of AI.
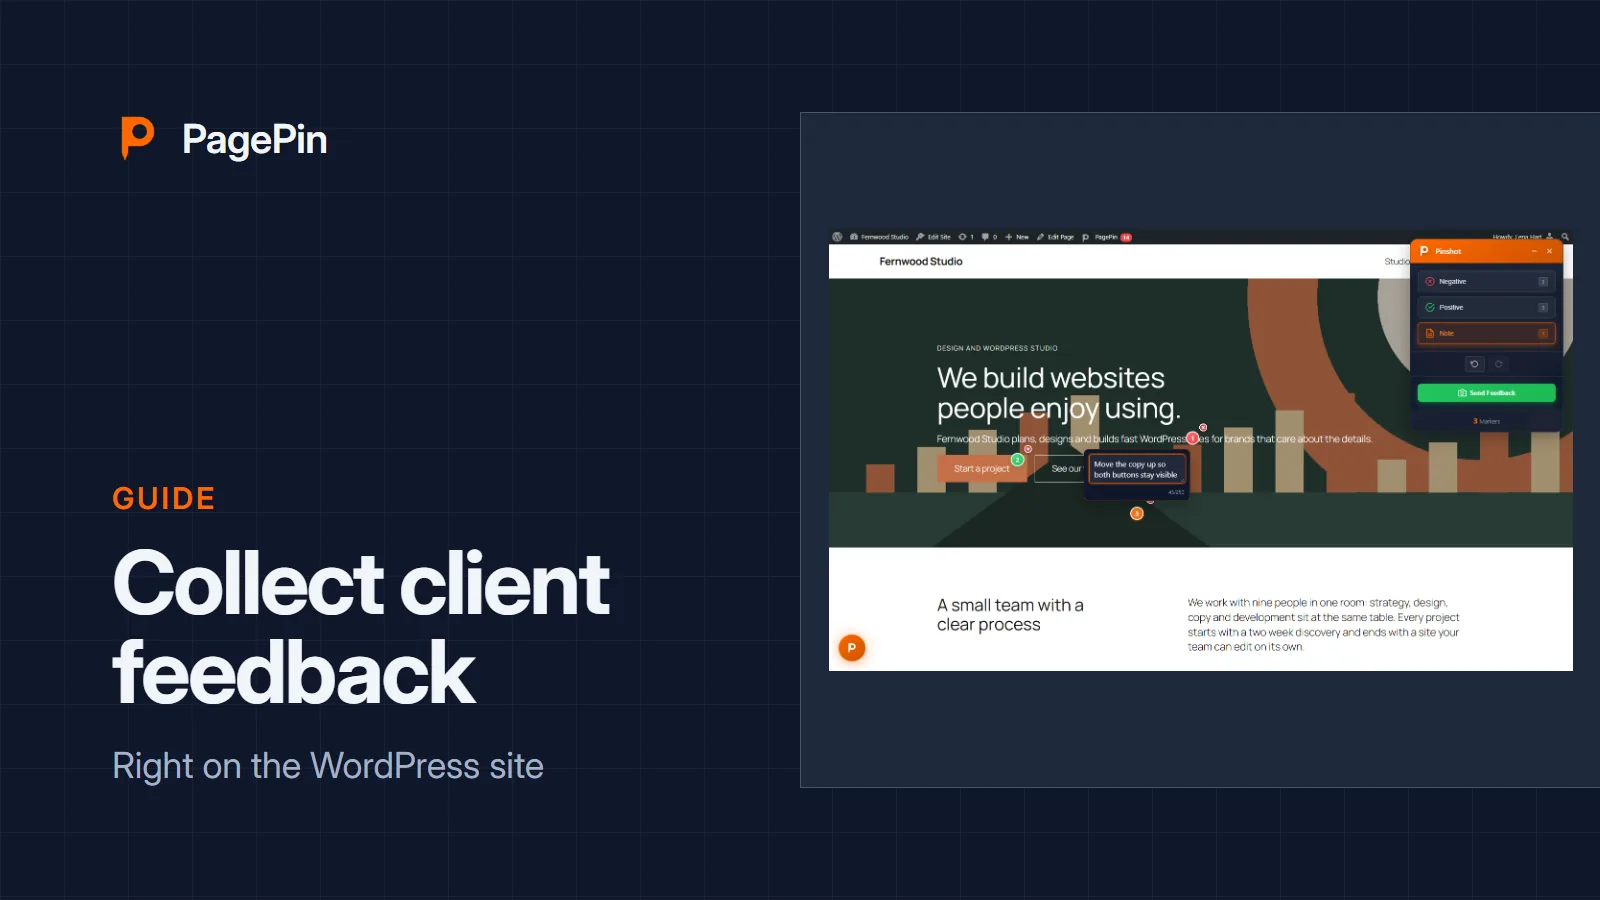
Client feedback by e-mail tends to arrive without context: a sentence about “the button on the left”, a screenshot in a document, no page URL. PagePin moves that feedback onto the page itself. This guide walks through a setup for a typical client project.
1. Install and check the settings
Install PagePin from WordPress.org on the client site. PagePin needs WordPress 6.4 or later and PHP 8.1 or later. After activation PagePin opens its settings with a short Next steps checklist: who receives Pinshot e-mails, which roles may give feedback, and a first try on the site. The defaults work as they are.
2. Decide who receives reports
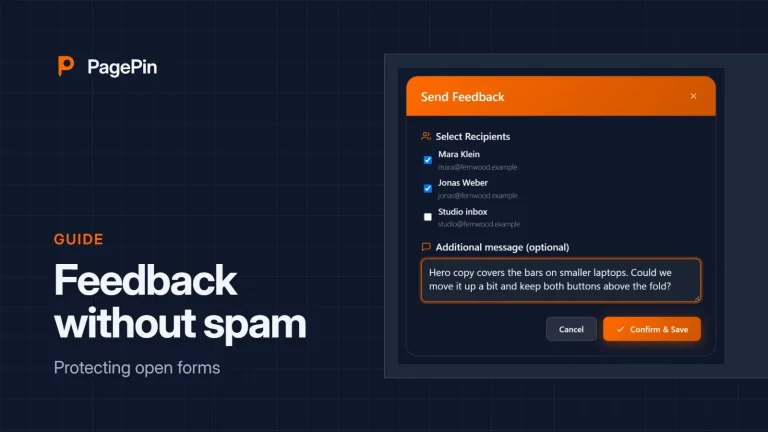
Pinshots are saved in WordPress, and Send in the Pinshot list e-mails them. Add up to five recipients, for example the project lead and the developer. Every report also waits in the WordPress admin with a status from new to sent to resolved.
3. Give your client a way in
There are two options. If your client has a WordPress account, allow their role to use PagePin. If not, switch on guest access and invite them by Magic Link e-mail or a shareable URL; links do not expire by default, or after 7, 30 or 90 days.
4. Pick the tool for the job
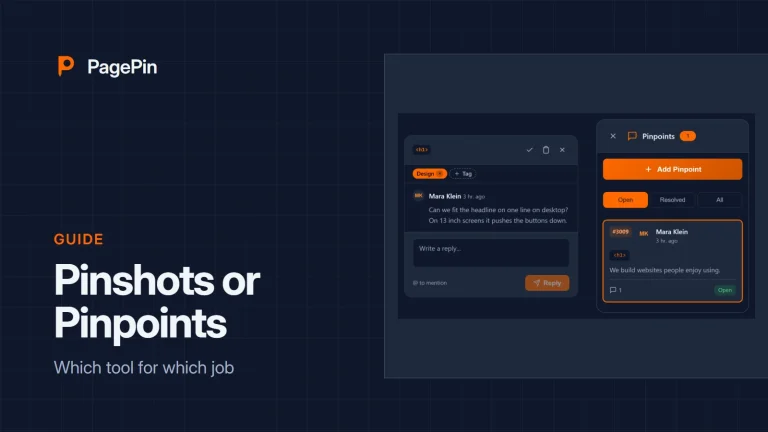
- A Pinshot for a quick report: numbered markers on a screenshot, saved and sent from WordPress
- A Pinpoint for a discussion: a comment thread attached to an element, which stays on that element when the layout changes
5. Close the loop
Work through the list in the admin, resolve Pinpoints when they are done and reopen them when a client answers. A counter in the admin bar shows what is still open.
Want to see it first? Start PagePin in the live demo, in your browser and without installing anything.
Sources
- PagePin features, pagepin.io
- PagePin FAQ, pagepin.io
- PagePin on WordPress.org